We at QueBIT think of Cognos Analytics as more than just a BI tool, but rather as a platform that contains BI tools. Between the introduction of the Exploration tool and visualization insights in the past year, Cognos Analytics has enabled users to explore, understand, model, visualize, and most importantly - share these findings securely with others. This means that the platform socializes data engineers, data architects, analytics professional, process experts, and consumers by keeping each party involved in the process of making actionable decisions with data.
With that being said, the release of CA 11.1.2 introduced integration with Jupyter Notebook. Jupyter Notebook is an application that enables users to share algorithms and visualizations produced by languages like Python and R. This is a huge value-add to the solution, as now data science and advanced analytics can be embedded with not only the CA platform, but the process of developing analytics as well. More often than not, data science teams are siloed, with analytics teams providing inputs and using outputs that the data scientists produced. Now, within a single platform, data scientists become part of the analytics social cycle.
Intergration with JN includes being able to:
- Create notebooks directly in a CA notebook (without leaving the CA interface).
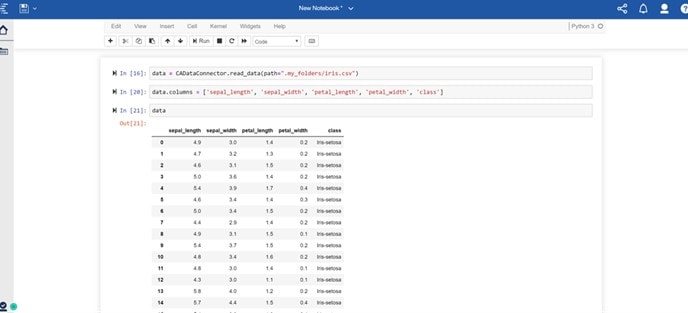
- Import datasets directly from Cognos into a notebook.
- Use visualizations from notebooks using libraries like matplotlib in dashboards.
- Use data sets generated from a notebook (i.e. the results of a predictive forecast) to create visualizations in CA. This will allow us to integrate customers’ existing and future algorithms into Cognos.
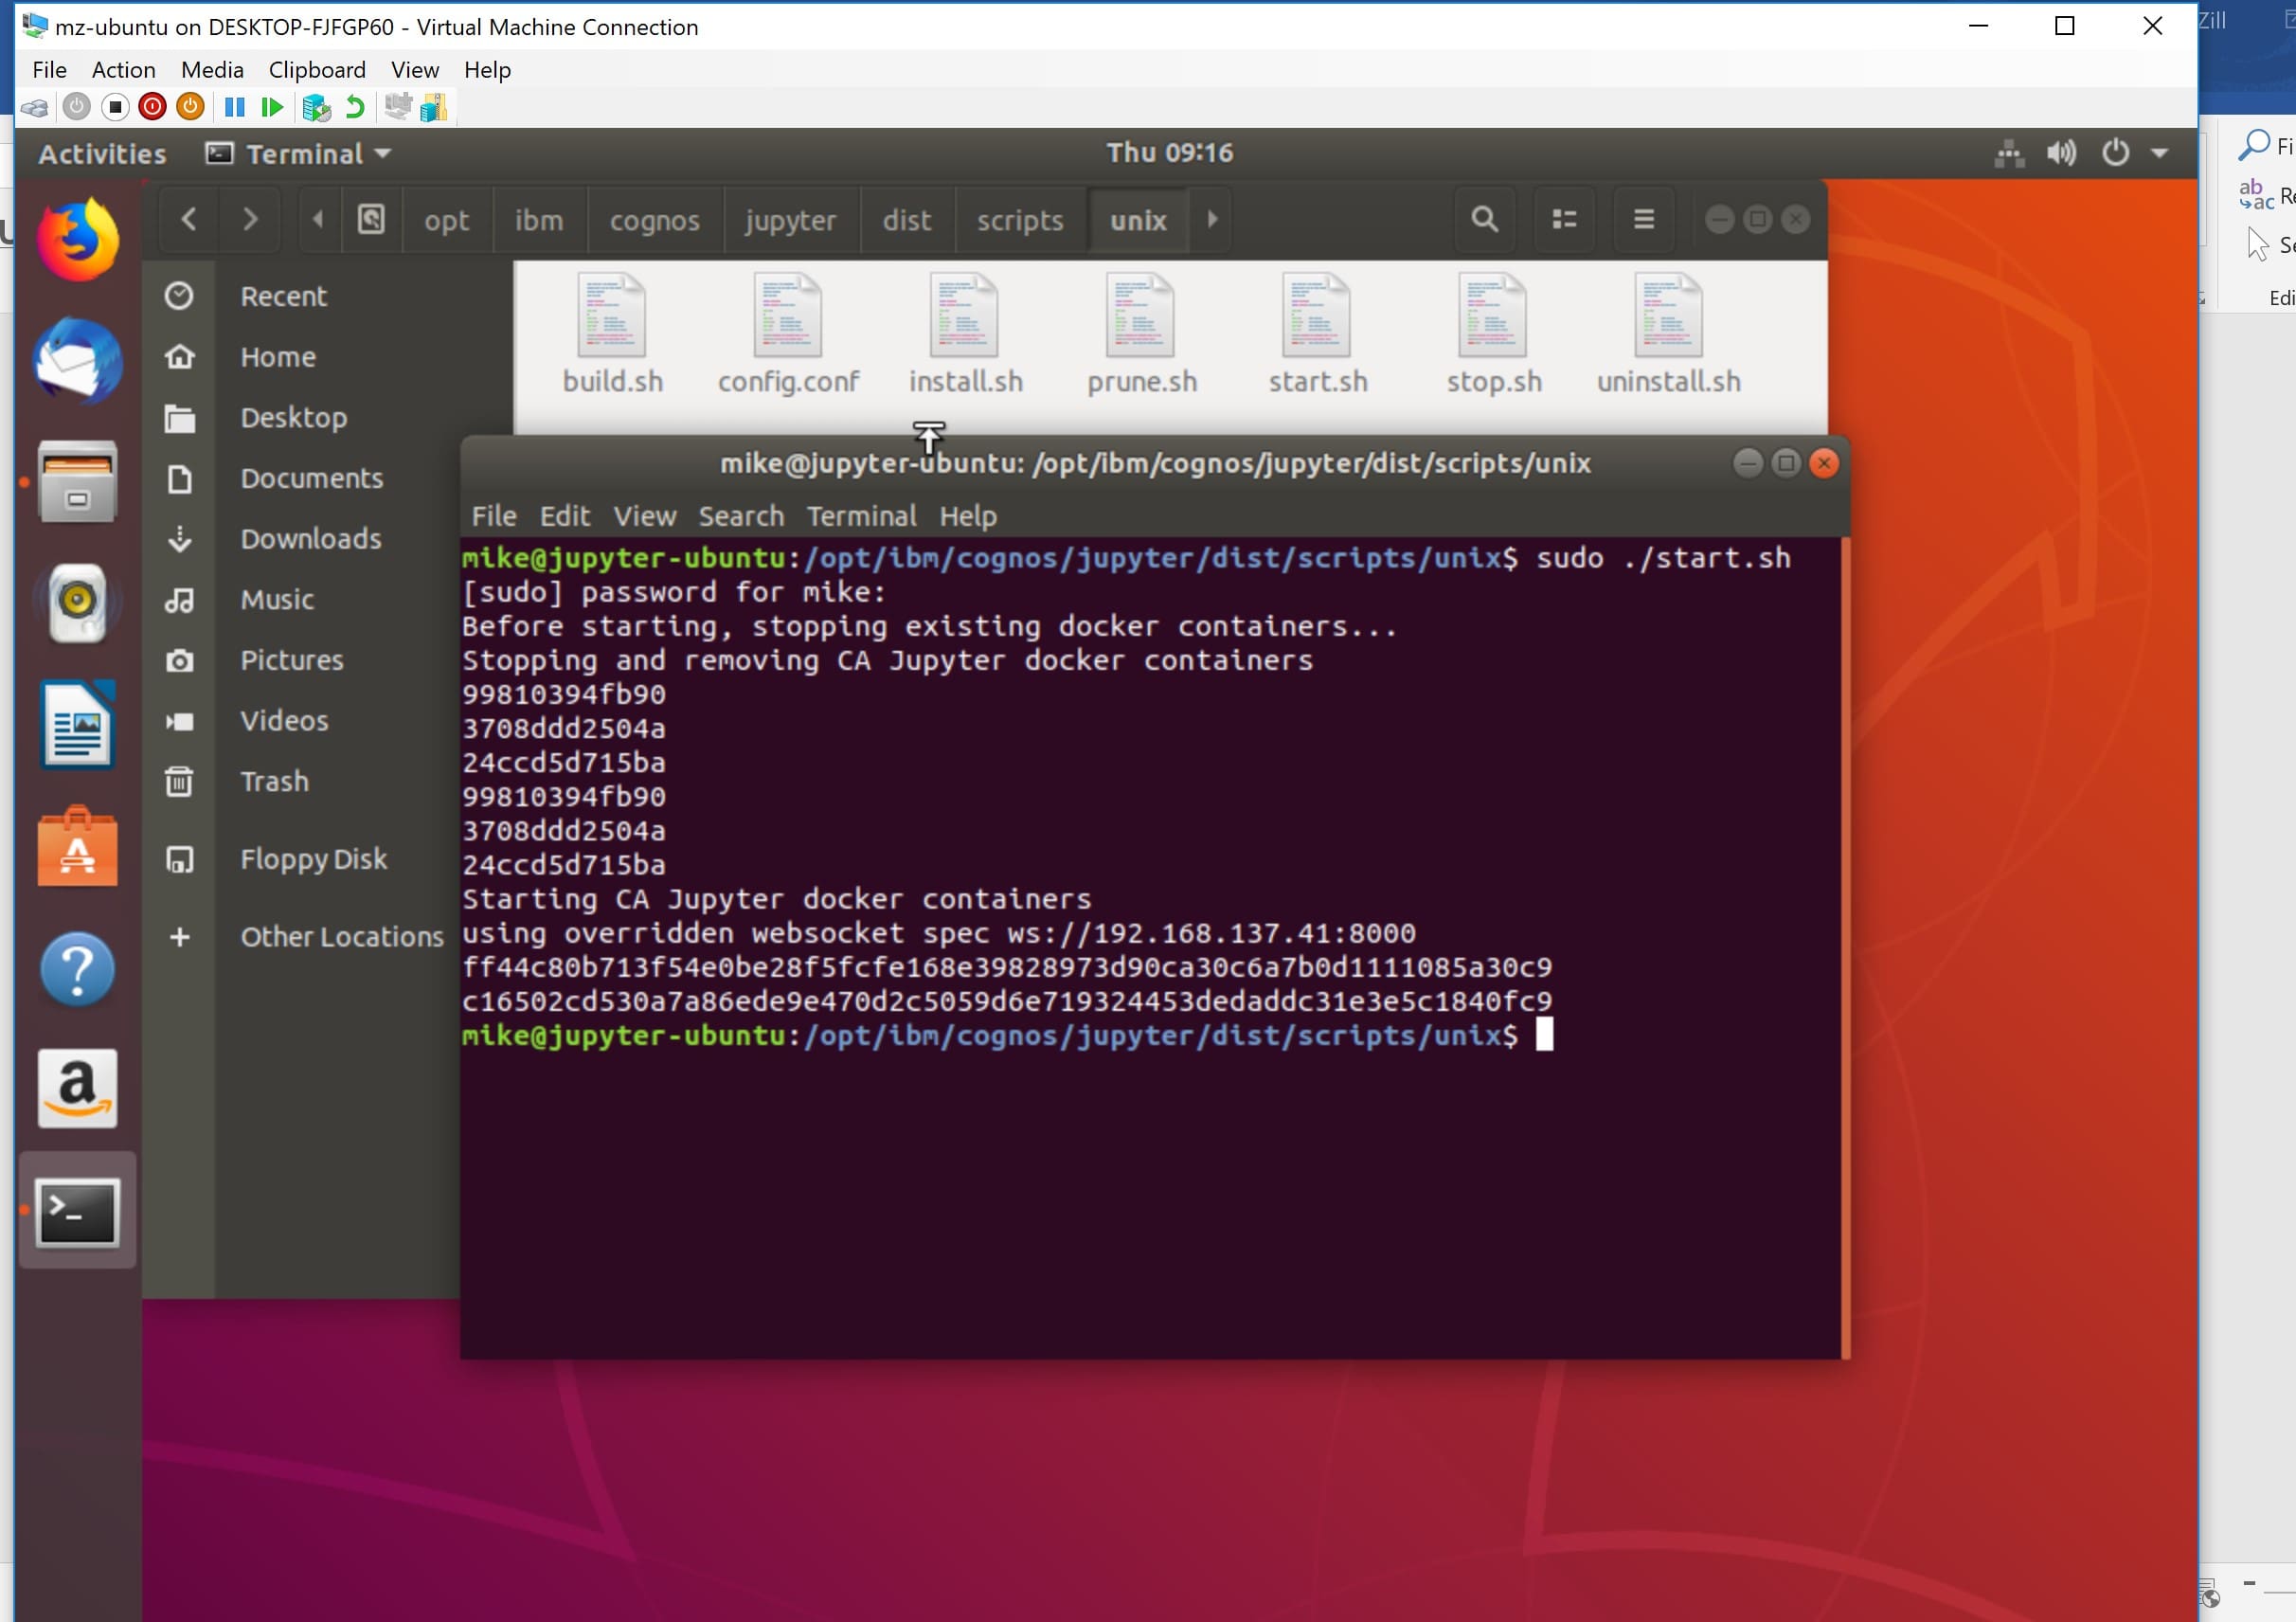
In order to enable this integration, a separate CA server specifically for Jupyter Notebook needs to be installed on a Linux machine. For my own personal use, I’ve installed Ubuntu on an instance of Hyper-V in Windows 10 – this is where my CA Jupyter Notebook server is hosted.
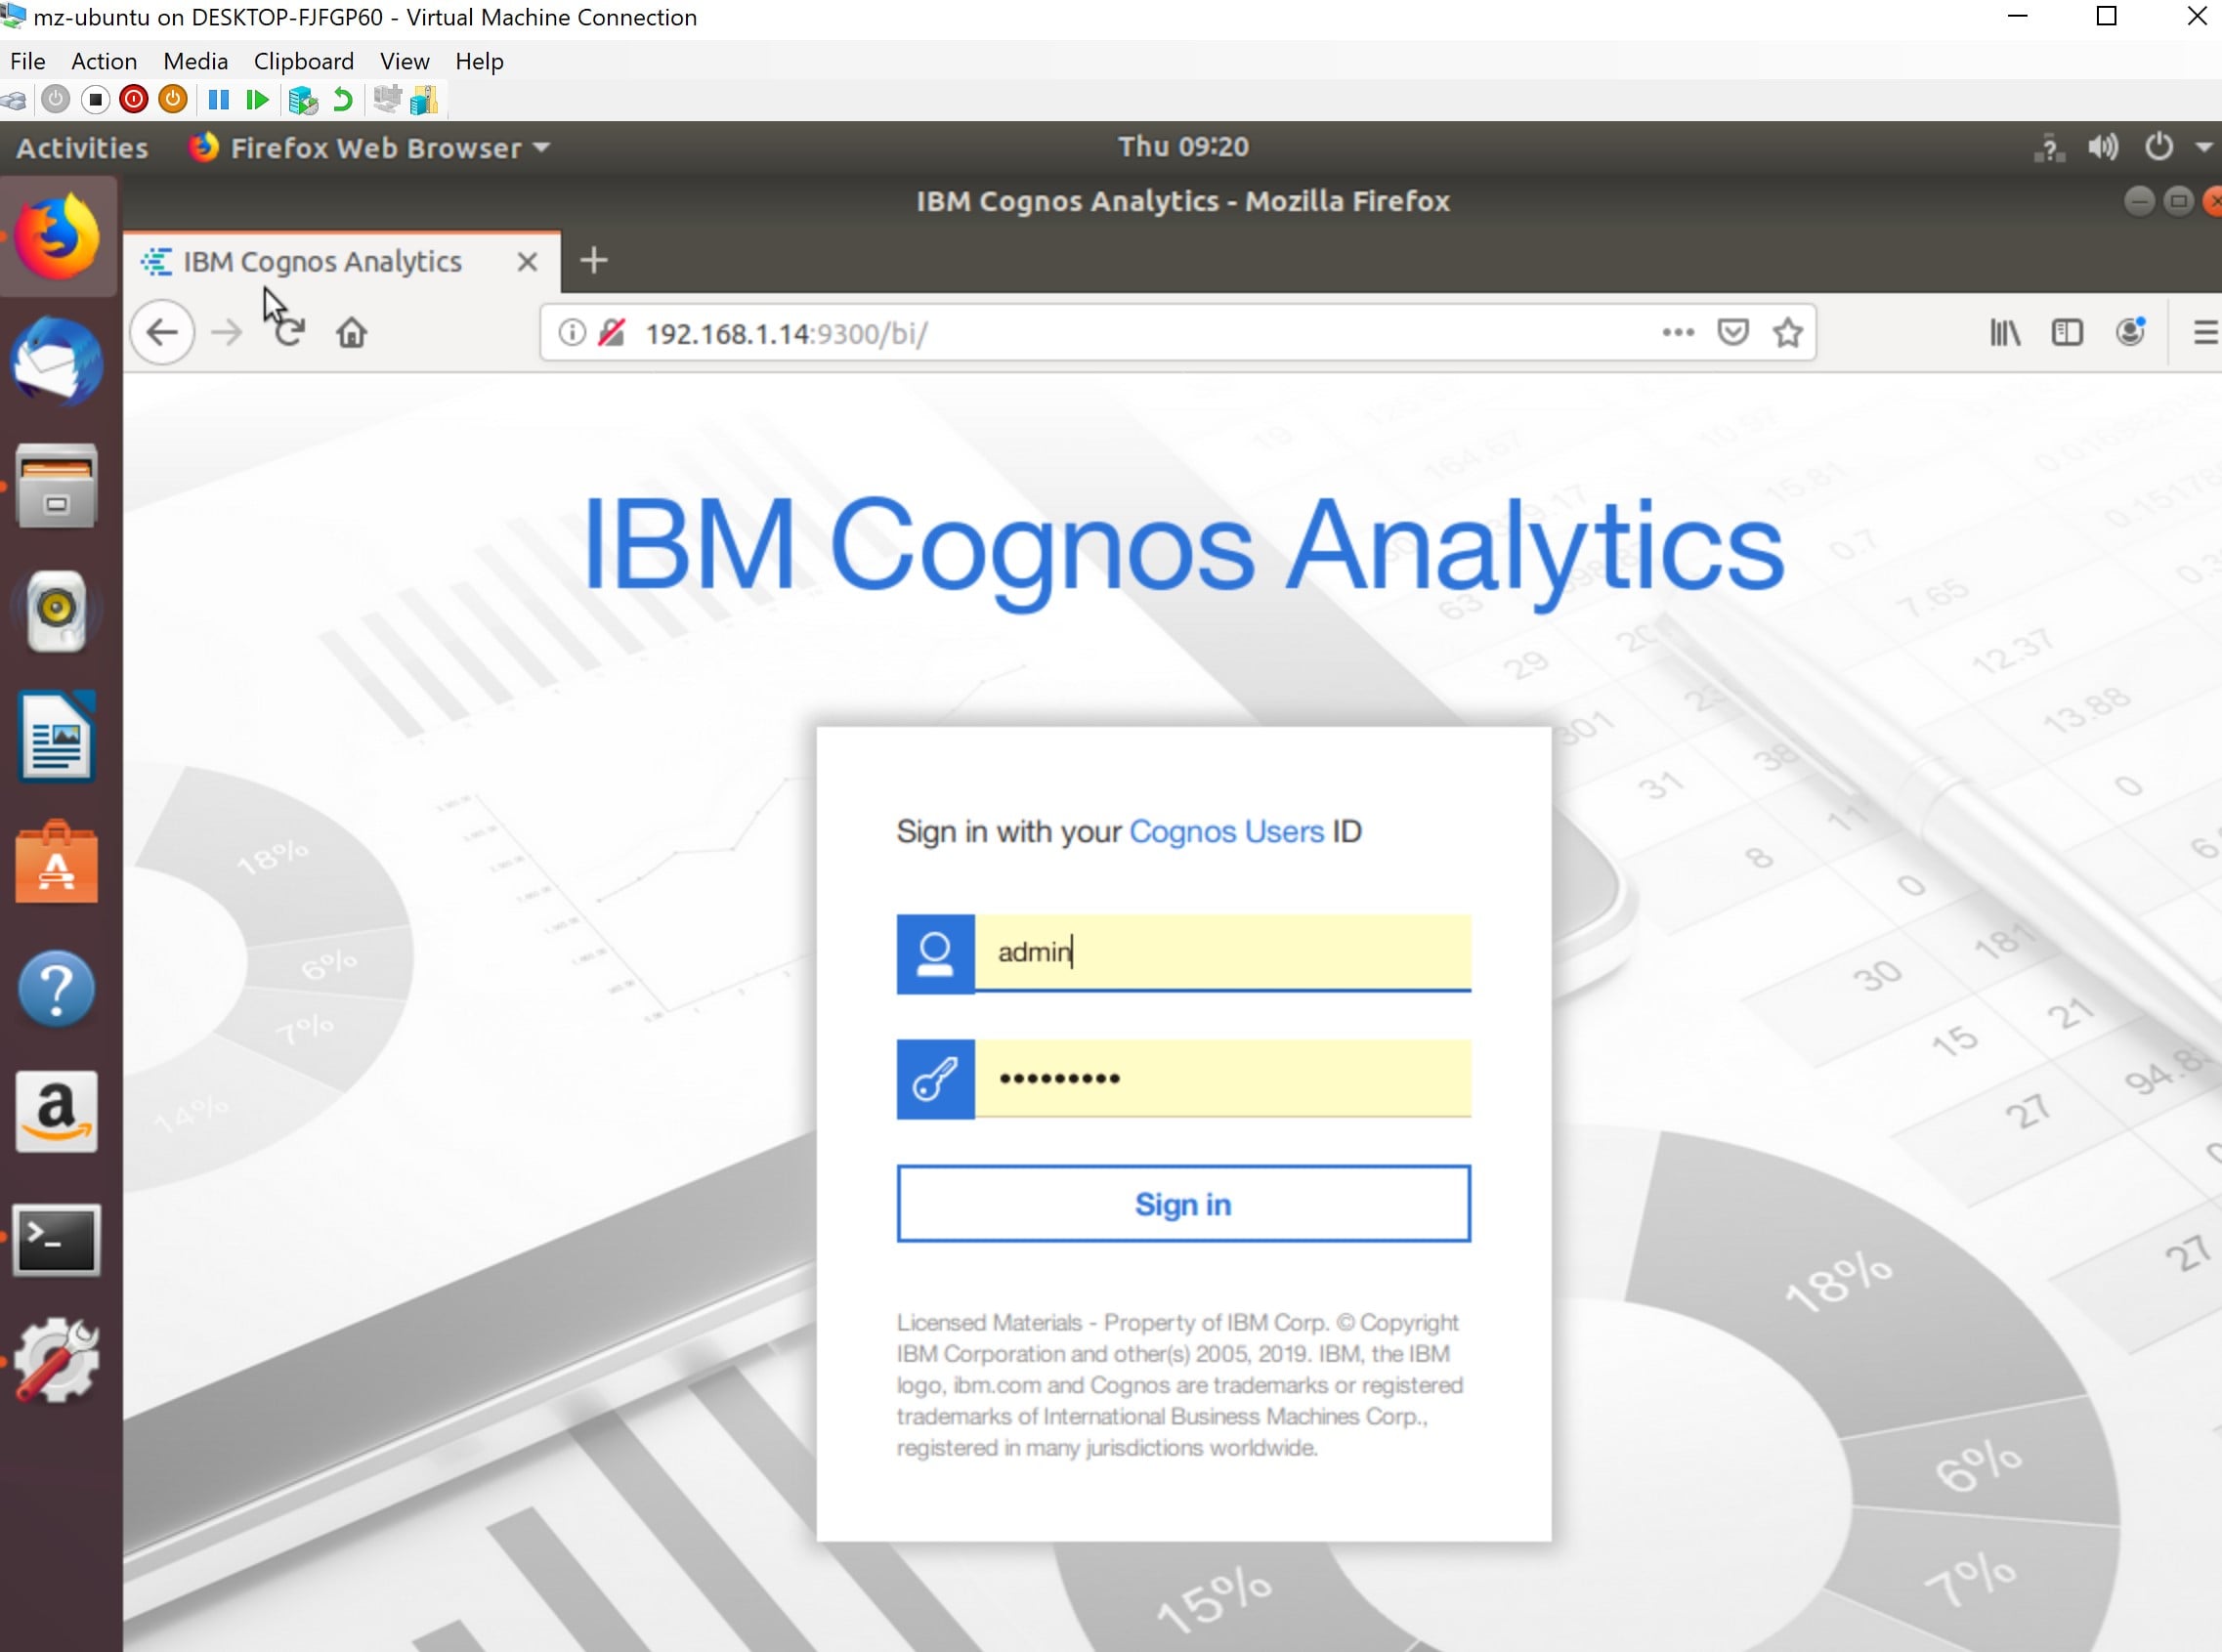
While on this VM, I also make sure to login to my existing CA environment, so I’ll need my IP address of my Windows 10 instance to get there.
 Now that I’ve logged in, I need to grab the IP address of my Linux VM to configure CA to connect to the Jupyter Notebook Server.

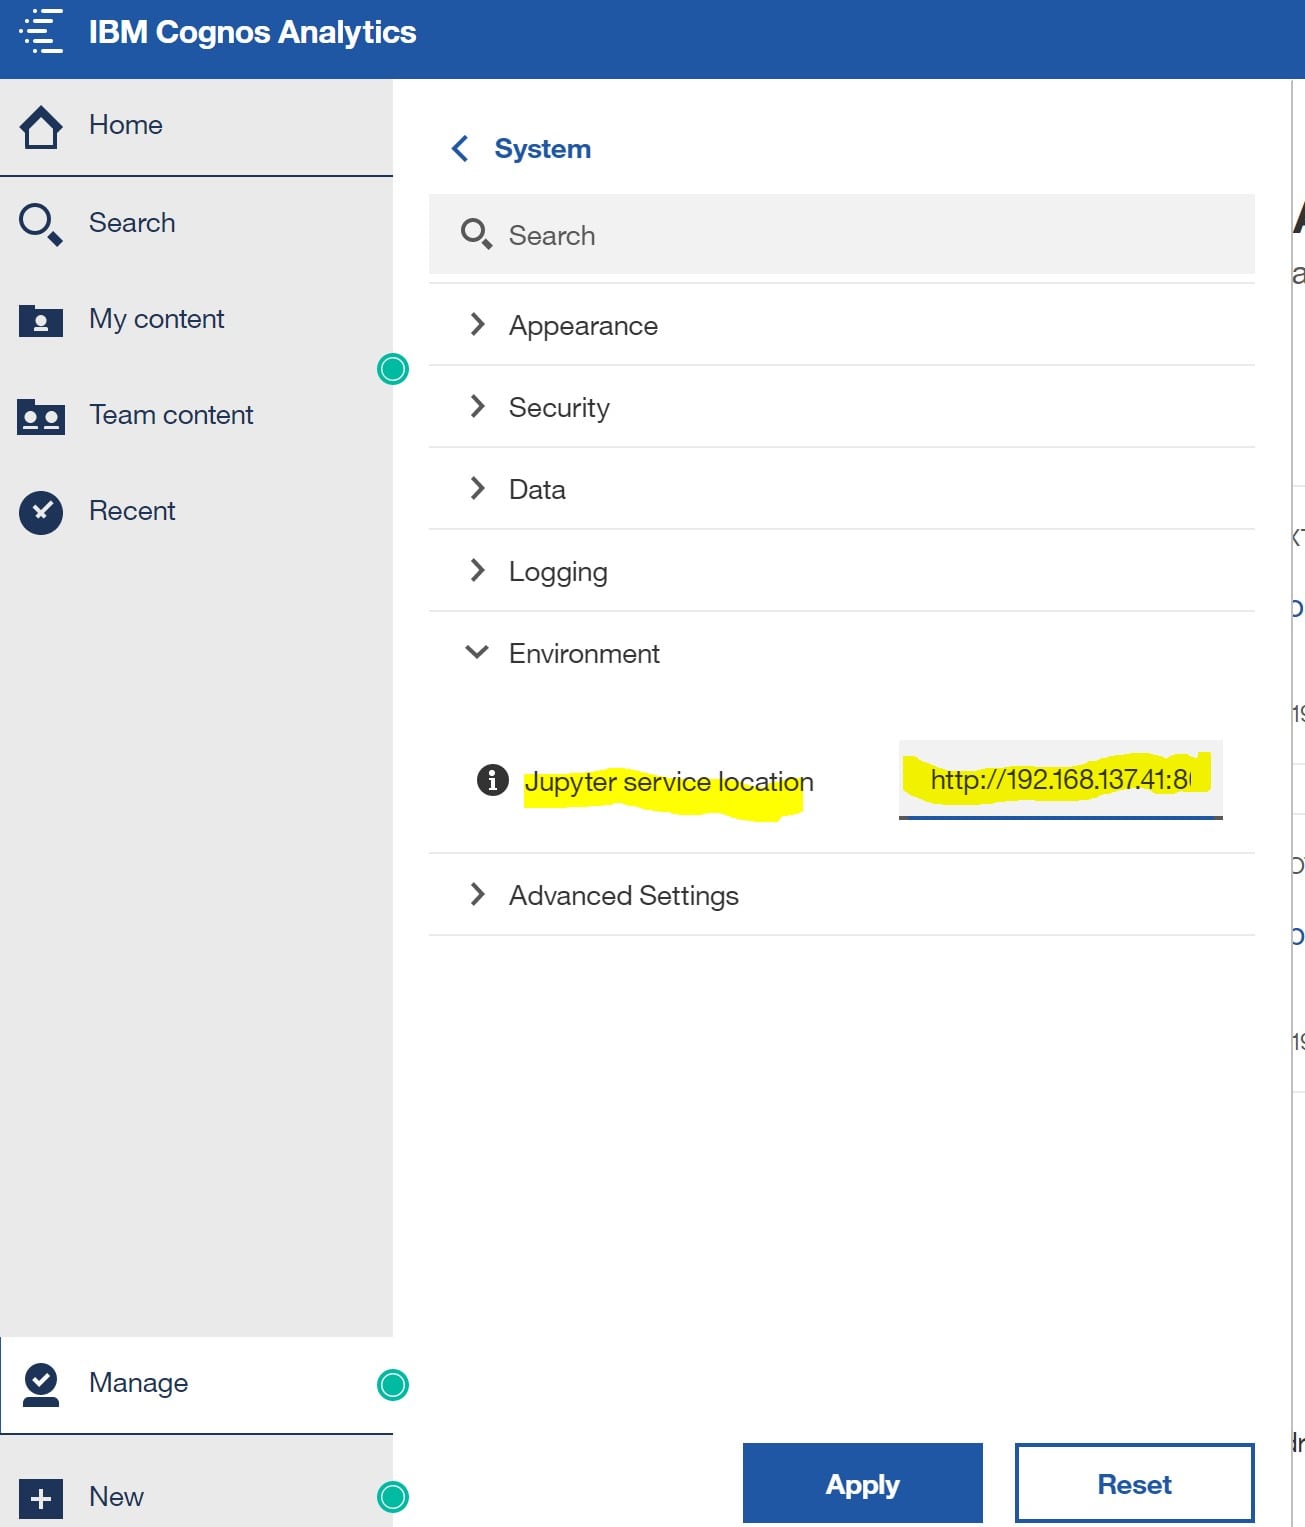
Now I’ll disconnect from my Linux VM (keeping it running) and log into CA on my Windows 10 in Chrome. Once there, I’ll go to Manage > Configuration > System > Environment, and enter the IP of my Linux VM. If you haven’t changed any configuration settings on the Jupyter Notebook server, the default port will be 8000.
Make sure that your account has been assigned Notebook capability. This will allow you to now go to New > Notebook.
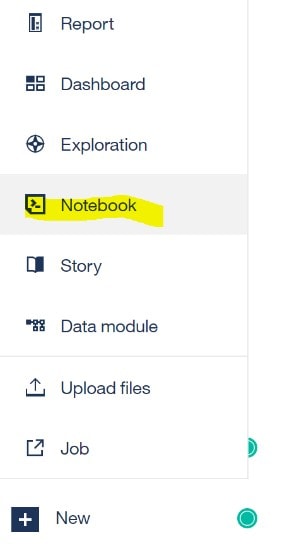
And voila! You can now create notebooks to use as data sources or for visualizations in dashboards:
Please view this video blog to watch Jupyter Notebook integrated with CA in action.
For more information on Jupyter Notebook, visit: https://jupyter.org/
For more information on installing Jupyter Notebook, visit: https://www.ibm.com/support/knowledgecenter/en/SSEP7J_11.1.0/com.ibm.swg.ba.cognos.inst_cr_winux.doc/t_inst_jupyter.html